Want to see up to 300% more website traffic from Google? What if I told you all you had to do to achieve it was to use a simple meta tag?
In this blog post, SEO Strategist, Ray Day, will guide you through the magic tool that is the max image preview meta tag, which can help you connect more directly with audiences on Google Discover.
Expert Insights on Max Image Preview
Understanding how to optimize for Google Discover is essential for increasing visibility and engagement. One effective approach involves leveraging specific meta tags, such as those that influence image previews on the platform. These meta tags are small but powerful HTML elements that play a critical role in Google Discover SEO, helping content creators improve their search engine optimization efforts.
By showing the largest possible image preview in search results, you’ll naturally grab more people’s attention and steal your competition’s thunder, which is where max image preview comes in handy.
Using this tool for image preview optimization can help your visual results stick out over other images, leading to more clicks and, subsequently, a lot more traffic. In turn, this added traffic could help signal to Google that your content is worth ranking, leading to even higher positions in some cases.
Before getting into how to edit the size of an image in preview using this tag, it’s important to learn more about what a “max image” is and how this tag works in Google Discover.

What Is Max Image Preview?
While you’re preparing your quality content and images, there is one simple thing to remember to use to get more traffic to your website: the max image preview tag.
In recent case studies done by Google themselves, the tech giant found that using the max image preview can boost traffic by up to 300%. Some publishers also saw an increase in click-through rates by up to 79%!
By using this meta tag on your site, you are helping to indicate to Google that your images are quality and can be featured on Google Discover.
Having larger images associated with your content will also help your audience to notice your article and click through to your website.
If you’re looking for how to get more traffic to your website, this trick is a great one to try. And it’s easy to implement with a simple “max-image-preview:large” tag.
Using this tag, you’ll definitely see a difference in results. Some results may appear as thumbnails, while others will feature much larger images:

Comparison of thumbnail and max image preview results in Google Discover.
Before we dive into how max image preview works, you need to understand where it plays an important role: in Google Discover.
Google Discover creates a customized feed of information from Google’s algorithm and a variety of other data. This is information that a user may be interested in but isn’t actively searching for at the moment.
Whenever new content is published, Google Discover automatically pushes that content out to people who may be interested in a product or service.
Google Discover works by collecting information on your search activity in a variety of ways.
- Search History: Takes inventory of your web and app search history, and contact information to suggest what might interest you in the future.
- Location History: If you have your location settings activated, Google Discover will use that information to give you updates relevant to the community around you.
- Follows and Subscribes: You can follow or unfollow certain topics. You can also subscribe, or unsubscribe, to certain sources.
How Does Max Image Preview Work?
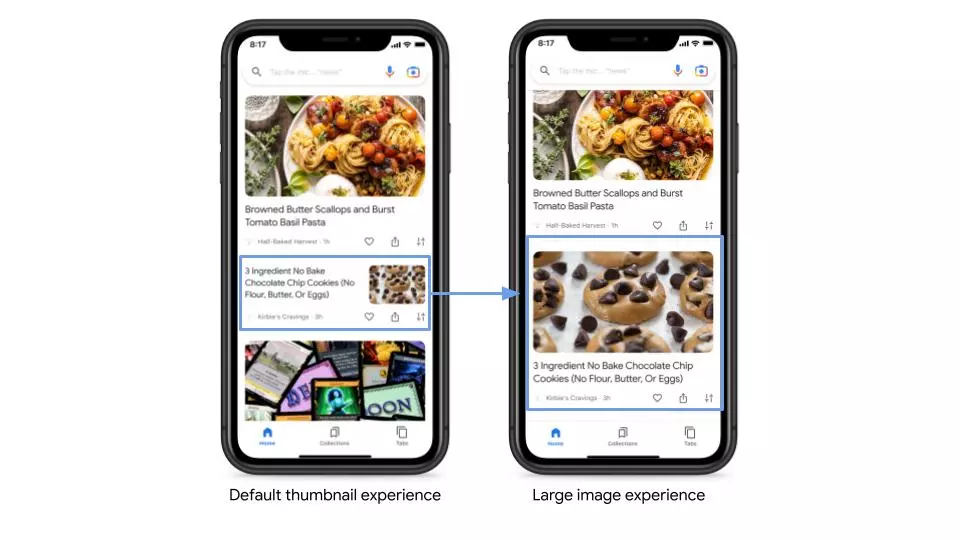
The photo on the left features the default thumbnail image. This is how small the graphic would normally be without the max image preview meta tag. Still a quality image but hard to see among the larger images.
The max image preview tag is a directive, meaning Google has to show the image in the size indicated.
The image on the right shows the larger image experience. This site utilized the max image preview meta tag.
Their large graphic is much more inviting to users, leading them to click on the article with a larger image, increase the likelihood that it will get noticed by the right audience, and, in turn, boost traffic going to your page.
Benefits of Using Max Image Preview
In addition to other content optimization, like SEO and keyword research, image preview optimization is critical to boosting traffic. If your Google images preview is not working, you could struggle to compete with other visual results in Google Discover.
The following are some of the specific advantages of implementing the max image tag for previews:
- Increased Traffic: As Google case studies have shown, one of the main benefits of the max image preview tag is the ability to boost traffic by getting more people’s attention in Google Discover results.
- Enhanced Visibility: Larger images mean more people will see your results first, contributing to more clicks and, thus, more traffic.
- Improved User Engagement: If you increase the resolution of your image along with its size, you’ll capture more users through eye-catching visuals.
How Do You Set Up the Max Image Preview Tag Manually?
Now that you know more about image preview optimization and its benefits, it’s time to get into how to set up the tag.
How to Manually Add the Tag
To add the tag to your website, take the following basic steps:
1. Log into your website’s backend.
2. Go into your designated web page’s header code (), which will look something like this:

3. Within the code, add, which will specify that Google bots should display the largest possible picture preview.
How to Automate Optimization With WordPress
If you’re using a WordPress website, there are plugins available to help you add the max image tag.
Here are some essential steps to take:
- Go into your WordPress website.
- Download the SEO Framework plugin on WordPress.org.
- Install the plugin on your site.
- Go to “SEO Settings > Robots Meta Settings > Copyright Directive Settings > Maximum image preview size.”
- Set the size to “Large or full size.”
Alternatively, you can use the Yoast SEO plugin to automatically make a featured image your preview image, but you should know how to increase the resolution of the image: make sure it’s at least 1200 x 630 pixels, which is great for image previews across multiple platforms, including Google and social media channels.
Testing and Troubleshooting
To verify proper implementation of the max image tag, there are some tools and troubleshooting steps you can use.
First, you can check for implementation using Google Search Console with the following steps:
1. Log into Google Search Console.
2. Go to “URL Inspection” for the designated website.

3. When prompted, insert the URL of the page where an image appears or the URL for the image itself.
4. Select “Test live URL” to see if Google can access the page and its resources.
5. Check for all elements: “Crawl allowed?” should be set to “Yes,” “Page fetch” should be “Successful,” and “Indexing allowed?” should display a “Yes.”
If your website isn’t within Google Search Console, you may run a Rich Results check to see if a preview image appears and how it looks.
Simply take these steps:
1. Go to the Rich Results Test page.

2. Insert the URL with the image you want to test for, and click “Test URL.”
3. Check the results: Your link should be “Valid,” experience a successful crawl, and have detected structured data.

If your Google images preview is not working, it could be due to a number of possible issues you might need to fix.
Do I Need To Use The Max Image Preview Meta Tag?
Yes! As long as you’re producing quality content with impressive images, this is a simple and easy way to increase website traffic for free.
You should still invest time and effort into other ways to boost traffic and engagement to your site, such as SEO and keyword research.
Using the max image meta tag is a simple, set-it-and-forget-it way for you to increase your website traffic, as proven by Google’s case studies.
Google Case Studies: Meta Tag Boosts Traffic
Since introducing the Max Image Preview Meta Tag to publishers last year, Google has been closely following some of the content creators who have chosen to use it.
One of them, Kirbie’s Cravings, is a food blog run by Jennifer, aka Kirbie, that shares recipes to make at home as well as fun experiences she’s had dining out.
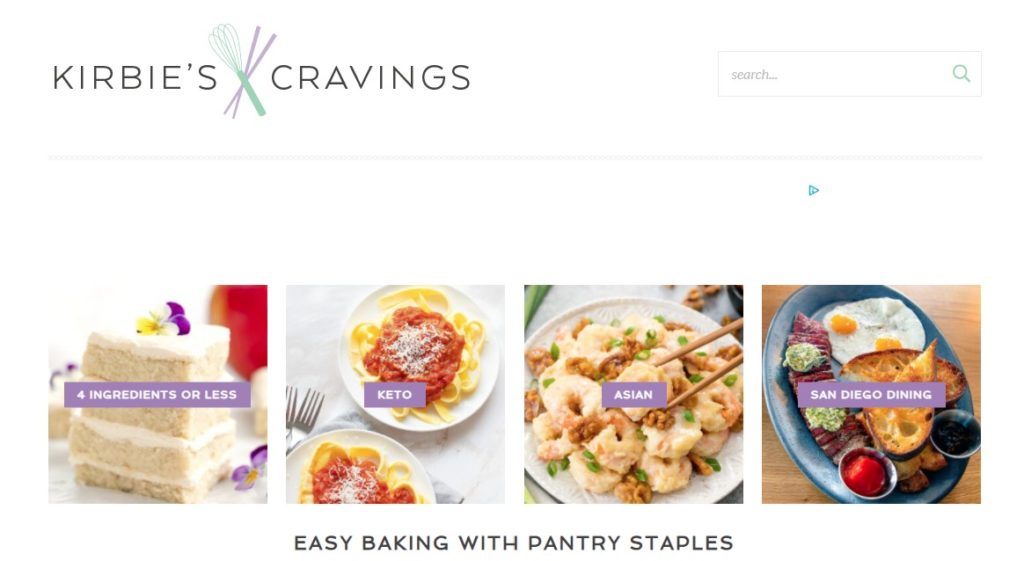
Like most bloggers, Jennifer had reached a bit of a plateau and was struggling with how to get more traffic to her website.
Enter the Max Image Preview Meta Tag! Since implementing this quick and easy meta tag, Kirbie’s Cravings reported a 79% increase in click-through rates and credits this increased free website traffic to this new tool.
Another successful implementation of the max image preview solution is MX Player, which is one of India’s largest video streaming channels.
MX Player was having some trouble maximizing visibility for its videos, but the company managed to rise above this by using structured data combined with frequently submitted video sitemaps.
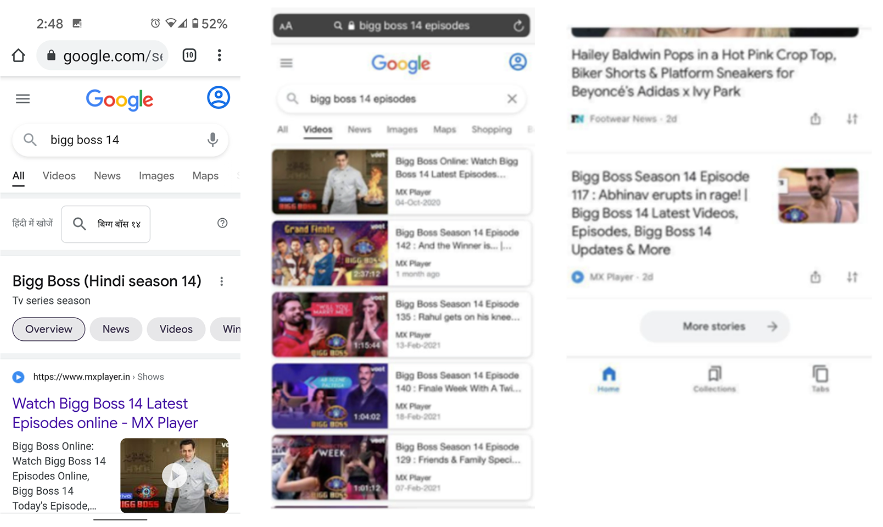
By increasing the resolution of images and optimizing structured data, MX Player was able to boost website traffic 3 times. Additionally, the company observed a 100% increase in video page views per user session.
Both of these case studies highlight the effectiveness of max preview image optimization.
Advanced Tips for Image Optimization
In addition to knowing how to optimize image previews, it’s important to understand how to increase the resolution of an image and how to otherwise optimize the image itself.
Here are a few key tips for further image optimization:
- Use descriptive alt text and filenames for images. Alt text is the descriptive text that accompanies images and describes their contents, which can give search engines more context while assisting visually impaired users. Relevant filenames can also give search engines more context.
- Increase image resolution for clarity. The better your visuals look, the more they’ll appeal to Google Discover audiences and others, leading to more clicks.
- Compress images to maintain site speed. Compressing your images will keep them small without compromising quality, creating a good user experience on the whole.
FAQS
1. Do they use this meta tag to sell the info?
Nope. It’s only a way to help Google quickly recognize quality content while helping content creators and businesses boost traffic to their sites.
2. Is this the same thing as photos on a website being geo and keyword tagged?
Nope! Although you should use alt-tags on all of your images and graphics, the max image preview meta tag is a totally different way to bring more attention and traffic to your site.
3. Does this really work?
According to the case studies done by Google, it does! Kirbie’s Cravings, the food blog that participated in a case study, reported seeing a click-through-rate increase of 79%. MX Player, the video streaming platform that participated in another case study, reported seeing a 300% increase in organic traffic through Google Discover. They both credit their boosted traffic with their participation in Google’s new Discover tools.
4. Does this only work for publishers?
Nope! Google says it will work for anyone with quality content so if you’re wondering how to get more traffic to your website, try this trick out!
5. Is this alone enough to make my site profitable?
This is just another tool in your toolbox! Use it in addition to other engagement tools and brand building to establish a strong foundation. Using the max image preview may increase your traffic but your content is what increases your click-through rate.
6. What’s the difference between max image preview and alt tags?
Max image preview tags and alt tags can help optimize images but in different ways. Max image tags are meta tags that go into a web page’s header code to adjust the size of the preview, while alt tags are descriptions of images that give both users and search engines more context.
7. Can all websites use max image preview?
Yes, all websites have the ability to implement this tag in some way to optimize image previews for Google Discover and other search platforms.
8. What tools can I use to implement and verify it?
There are various tools you can use to incorporate the picture preview tag and perform image preview troubleshooting. For instance, you might wonder: What image does WordPress show on preview? By default, this platform uses the featured image selected, which you can manually select for each page.
You can also use Google Search Console and Rich Results testing tools to see whether Google recognizes your image preview and other aspects of your pages.
Optimize Your Image Previews and More With Ignite Visibility
Want to get the most from max image previews and your content overall? Ignite Visibility can help, whether you need comprehensive content marketing and creative design or other solutions for conversion optimization.
With our team at the wheel, you can:
- Create and publish high-quality images and other visual content
- Develop rich text content for all web pages with relevant keywords and other elements
- Maximize image preview size for Google Discover and other platforms
- Continually check for proper implementation
- Work to maximize conversions and website traffic
- And more!
If you would like to get started, contact Ignite Visibility today and get your website off the ground.