Online shopping is growing fast, with ecommerce sales accounting for 14.1% of retail purchases worldwide. With this evolution comes the need for merchants to better equip themselves to market their products and services across the world wide web.
And since Google is the most popular search engine in the world, the fate of your ecommerce sales depends largely on one thing—optimizing your Google Shopping feed.
Google Shopping is receiving a ton of traffic from search engine users due to its prime placement in search and the results it produces for ecommerce retailers.
In this post, we’ll show you how to create a shopping feed and optimize it to unlock additional opportunities and revenue for your business.
Let’s break it down.
What We’ll Cover:
-
What is a Google Shopping Feed?
-
How to Set Up a Google Shopping Feed
-
Google Shopping Feed Best Practices
What is a Google Shopping Feed?
Before we get into the Google Shopping feed set up, you’ll need to know what it actually does.
Powered by Google Ads and Google Merchant Center, Google Shopping was initially an advertising campaign type available within Google Ads.

What is Google Shopping Feed?
Now, this PPC platform allows users to search for, compare, and shop for products sold by online retailers. You can think of the Google Shopping feed, specifically, as a type of spreadsheet that describes and organizes your product catalog so that Google can more easily crawl and display your information in search results.
The purpose of the feed is two-fold:
- Allows Google to better respond to a search query and produce results that are more relevant to the user.
- Allows you to boost the click-through rates and ROAS on your Google Shopping campaigns.
On a more technical level, the product feed will be formatted either as a .txt or .xml document that includes attributes like title, description, category, and pricing. Google Shopping pulls this data from two feeds—primary and supplemental.
The primary feed features critical product data like name and price, while the supplemental feed holds (you guessed it) supplemental data which helps you customize how you want your Google Shopping result to be displayed. In this case, you can’t add or remove products and the supplemental feed can’t be used as a standalone feed.

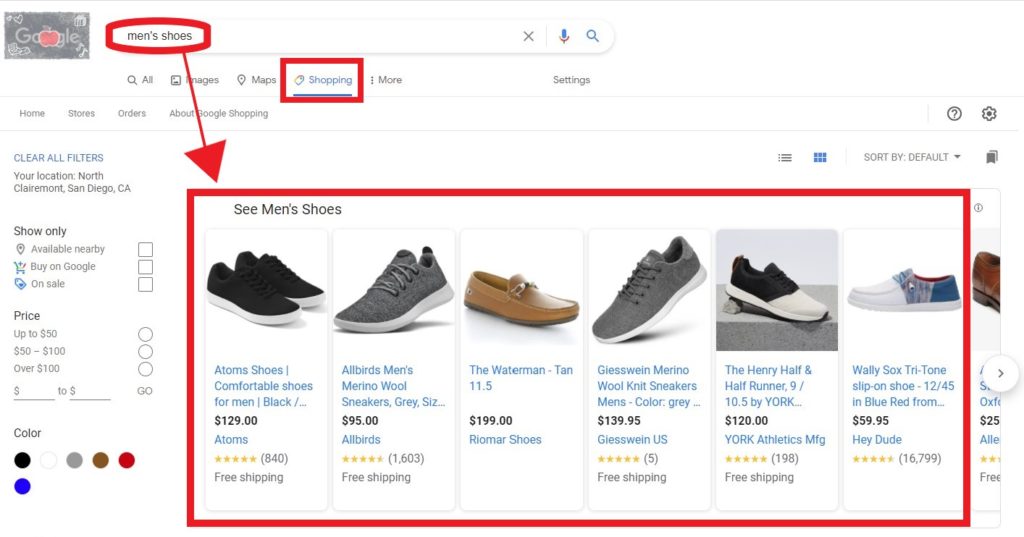
Google Shopping Feed Example: Men’s Shoes
How to Set Up a Google Shopping Feed
To upload your product information in Google Merchant Center, you need to first create the feed to which the data can be submitted. Once the feed is registered, you can make any changes without having to go back and register it again.

How to Set Up a Google Shopping Feed
Creating a Primary Feed
To create a primary feed, go to the “Feeds” section listed under the “Products” section in Google Merchant center and click the “+” button. Then, follow the prompts and enter the information below:
- Country of sale: This is the country in which products from this feed are sold. The product data within these feeds needs to meet the requirements for the country you submit, which includes the feed specifications and policies. You also have the option to add additional countries for Google Shopping ads when choosing destinations during the feed creation process. Use the shipping attribute to determine which countries you want to target for individual products.
- Language: Refers to the language in which your product data is written.
- Destination: Whether you opt to have one or many feed destinations in Google Merchant Center, this will allow you to select which Google features can use the items in your data feed.
- Primary feed name: Enter a descriptive name that will help you identify the primary feed. Please note that the feed name doesn’t necessarily have to be identical to the name of the file you’re submitting.
- Input method: If you’re looking to change the feed name later, here’s how you can edit your primary feed settings:
- Google Sheets: You can upload your data using either a generated Google Sheets template or an existing Google Sheet that already includes your product data.
- Scheduled fetch: Google can fetch your feed right from your server.
- Upload: Upload files directly to Google Merchant Center via SFTP, FTP, Google Cloud Storage, or manually.
- Website crawl: If there aren’t any feeds in your account, and you have the appropriate structured data on your website, Google has the ability to crawl your website to recover your product data.
- File name: Depending on the input method you choose, you may be prompted to enter the name of the file you’ll be submitting. This name should be an exact match of the name of the file you created and have a valid extension.
Once you’ve filled in this information and clicked on “Continue,” you can view and manage your new primary feed in the “Feeds” section of your Google Merchant Center account.
To access or upload a feed, click on the 3-dot icon in the “Processing” tab of your feed and choose your upload preference from the dropdown menu.
Creating a Supplemental Feed
To use a supplemental feed, be sure to connect it to existing primary feed through the ID attribute. These feeds only update your product data if the supplemental feed contains IDs that already appear in a primary feed.
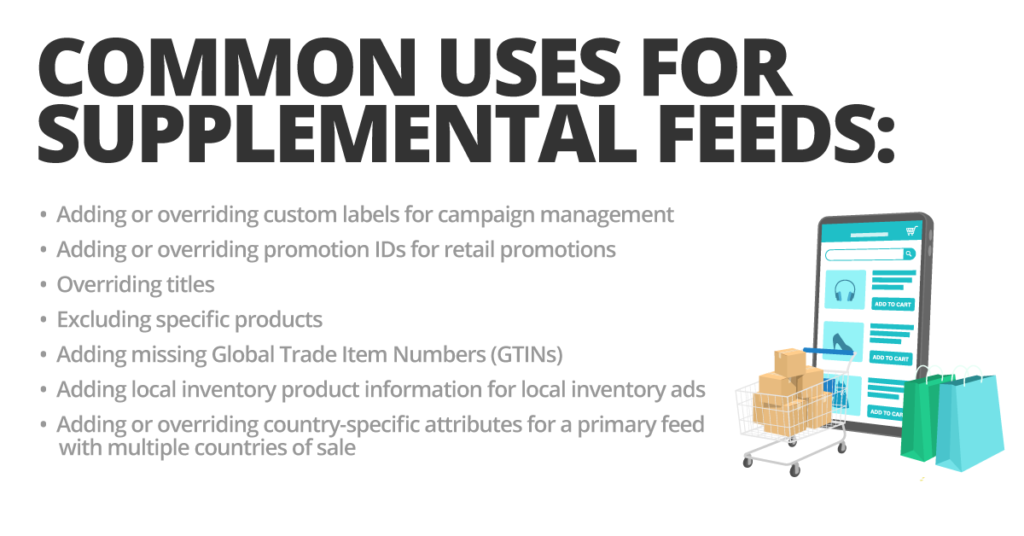
Here are some of the most common use cases for supplemental feeds:
- Adding or overriding custom labels for campaign management
- Adding or overriding promotion IDs for retail promotions
- Overriding titles
- Excluding specific titles
- Adding missing Global Trade Item Numbers (GTINs)
- Adding local inventory product information for local inventory ads
- Adding or overriding country-specific attributes for a primary feed with multiple countries of sale

Common Uses for Supplemental Feeds
To create a supplemental feed, navigate to the “Feeds” section under the “Products” page in Google Merchant Center. At the top of the table, click on “Add a supplemental feed” and follow the following prompts:
- Supplemental feed name: Just like you did with your primary feed, enter a descriptive name that helps you identify the supplemental feed. This also doesn’t need to exactly match the name of the file you’re submitting. The feed name can be changed later by editing your primary feed settings.
- Input method: Select the one that best suits your needs:
- Google Sheets: You can upload your data using either a generated Google Sheets template or an existing Google Sheet that already includes your product data.
- Scheduled fetch: Google can fetch your feed right from your server.
- Upload: Upload files directly to Google Merchant Center via SFTP, FTP, Google Cloud Storage, or manually.
- File name: Depending on your chosen input method, you may be prompted to enter the name of the file you’ll be submitting. This name should be an exact match of the name of the file you created and have a valid extension.
- Linking to primary feed: Select any combination of primary feed and country of sale/language to which the supplemental feed belongs.
- Fetch schedule: Set a scheduled retrieval for your product data. This lets Google Merchant Center get fresh feeds without requiring you to manually upload your data.
To access or upload a feed, click on the 3-dot icon in the “Processing” tab of your feed and choose your upload preference from the dropdown menu.
Once your supplemental feed is created and linked to your primary feed, a rule will automatically be created, which can be found in the “Feed Rules” section of Google Merchant Center. The rule will connect the product data from the both feeds based on the ID value provided and will connect attribute data from the supplemental feed.
Setting Up Feed Rules
To create a new feed rule for your feed, follow these steps:
- Sign in to your Google Merchant Center account.
- From the page menu, click on “Products,” then “Feeds.”.
- Choose the feed you want to create rules for.
- Click the “Rules” tab towards the top of the page. In the event that you have more than one country of sale and target language connected to this feed, make sure to select the country that you want to apply the rule to.
- If you haven’t created any feed rules for the attribute you want to edit, click “Create Rule” and pick the corresponding attribute from the drop-down menu.
- To edit an existing set of feed rules, you can look for the attribute using the search bar and click on the attribute you’re seeking to edit.
- Configure your “Data Sources.”
- Add “Modifications” (optional).
- Click “Save as Draft.”
- Click “Test Changes” to test your draft rules before they are officially applied to your product data.
- Click “Apply” to save and apply any new or updated rules. To remove them, click “Discard.”
Google Shopping Feed Best Practices
Now that we’ve covered the basics of the Google Shopping feed set up, it’s time to dive into some best practices to improve your campaign outcomes.
Taking the following recommendations into account can help you perfect your feed and ultimately, yield better results and prevent wasting precious ad spend.

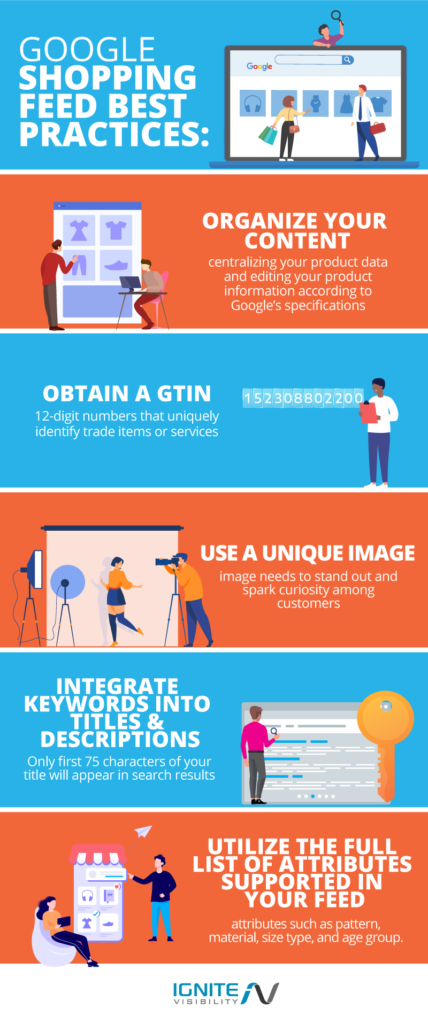
Google Shopping Feed Best Practices
Organize Your Content
Whether you’re a brand manufacturer or a reseller on Google Merchant Center, getting your content organized is a must.
This involves centralizing your product data and editing your product information according to Google’s specifications. Fill out your feed as much as you can while staying within the recommended character counts to increase your chances of appearing for relevant searches.
Keep in mind that this is an ongoing process, so establishing a standard operating protocol can make things a little easier.
Obtain a GTIN
These are 12-digit numbers that uniquely identify trade items or services.
Valid GTINs are typically supplied by the manufacturer and are prioritized by Google more than products that don’t include them.
Not only do GTINs help keep counterfeit items out of the market, but having this attribute can even pay off on other platforms like Amazon, eBay, and Walmart.

Google Shopping Feed Benefits of a GTIN
Use a Unique Image
The use of high-quality images are one of the most important factors that lead users to click on ads.
Although you’ll likely have multiple images, Google will specifically request an image link to a photo of your product, which the site will then use as the preview shot in the search results. This image needs to stand out and spark curiosity among customers.

Google Shopping Feed: Men’s Shoes Product Image
Integrate Keywords into Titles and Descriptions
What keywords are your products ranking for? Are they included in both your title and description? If not, they definitely should be.
Remember—the goal is to attract both Google and your audience. Google Merchant Portal will only display the first 75 characters of your title and the rest will appear after the customer clicks on the ad. Make those 75 characters count.
Utilize the Full List of Attributes Supported in Your Feed
You’ll want to use the full list of attributes that the primary or supplemental feeds support. These attributes include “pattern,” “material,” “size type,” and “age group.”
If there’s any other information about your products that you think are worth including in the feed, you may be able to add them using the “product detail” attribute. The more details you include, the more it will improve relevancy and matching in the long run.
Wrapping Up
The way business is conducted between merchants and customers has changed. Online shopping is here to stay, and according to Search Engine Watch, Google Shopping has the retail search market cornered with 76.4% search ad spend in the U.S alone.
To ensure you can advertise to the right customers at the right time, be sure to leverage the Google Shopping feed tips, tricks, and best practices we’ve outlined in this article.
Trust us—the value you’ll get out of Google Shopping directly corresponds to the work you put into it.
So don’t wait—now that you know how to create a shopping feed, start setting up campaigns and optimizing today!