The Google Accelerated Mobile Pages (AMP) framework allows you to create a much faster mobile browsing experience right away without a complete mobile web overhaul and without losing your ad revenue. This is my step by step guide to implementing AMP on a WordPress site.
AMP basics
AMP pages are stripped down versions of the originals that omit a lot of fancier features in favor of speed and functionality. This is designed to provide a better mobile user experience since typical web pages often behave slowly and erratically on mobile devices. Typically this has to do with either third party interference in the form of ad trackers and content blockers or responsive design features that look great on a desktop or laptop, but overwhelm a mobile device (or both).
Watch a Video on AMP
AMP consists of AMP HTML, AMP JavaScript (AMP JS), and the AMP content delivery network (CDN). AMP HTML is similar to regular HTML but includes various restrictions and some properties and custom tags. AMP JS mostly focuses on asynchronous loading and resource handling; you cannot use any other JS with AMP. The AMP CDN isn’t mandatory but can automatically optimize your AMP-enabled pages in some ways.
Using AMP means maintaining at least two versions of each page—the AMP version and the original. Your AMP page will be simpler in many ways, in particular because you cannot use any third party JS for things like comments and lead forms. Your AMP pages will need to be worked into your sitemap, and the sitemap in turn may require some rewriting to accommodate all of the AMP restrictions.
Your multimedia will need some tweaking as you convert to AMP. Your still images must include both a set height and width and the custom amp-img element. Your animated images like GIFs must have the extended amp-anim element. Use the amp-video element to embed videos that you’ll host locally using HTML5, and the extended amp-youtube element for embedding YouTube videos. You can find other extended AMP elements for things like social media, lightboxes and slideshows on the AMP extended components page.
You’ll also need to help Google (and everyone else) find the AMP version of your page. You do this by tagging the original version like this:
<link rel=”amphtml” href=”https://www.example.com/blog-post/amp/”>
You should also use Schema.org meta data for your AMP pages so your page can appear in the Google Search news carousel. Check out the AMP Discovery page for more details on this. Read this for more on using Schema.org for SEO, and for more about why you should try AMP on your page see my post on why AMP will improve your SEO, UX and CRO.
Get AMPed in WordPress
AMP is easy to introduce to your WordPress site so this is a great place to start with AMP. Here’s how it works.
Install the official WordPress AMP plugin
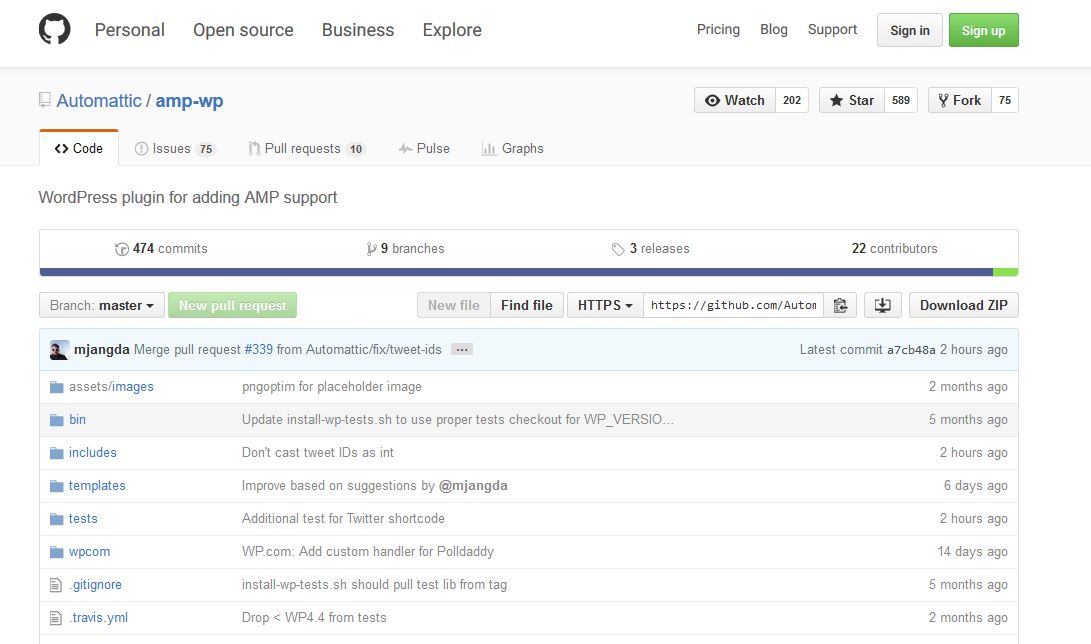
Find the plugin here on the AMP/WP GitHub page. Install it as you would any other plugin for WordPress. Next, add “/amp/” to the page in question if you have permalinks; if you don’t, add “?amp=1”).
Validate and refine
Since you already added the <link rel=”amphtml” href=”https://www.example.com/blog-post/amp/”> tag to your original page in the section above, the Google Search Console should find the AMP version of your page. This will also enable you to ensure that lots of pages are validated; just check the console. Remember, it may take a few days to show up there after adding the tag or making alterations.
There is also a validation process through Chrome, and you can use both Chrome’s and the Google Search Console version. To use the Chrome validation process go to one of your new AMP pages using Chrome and add “#development=1” at the end of the URL. Next go to the Chrome Console by accessing Chrome Developer Tools. To do this click on control + shift + I. The Chrome Console will either list problems you need to fix or say, “AMP validation successful.” If you don’t see either message, refresh the page and check again.
Ideally you could just install the WP plugin and all of your pages would be AMPed and validated automatically, but this isn’t what happens in most cases. Instead, you may have to address certain formatting problems like changing old codes to the new AMP versions before the AMP versions of your pages can be validated.
Validate your Schema markup
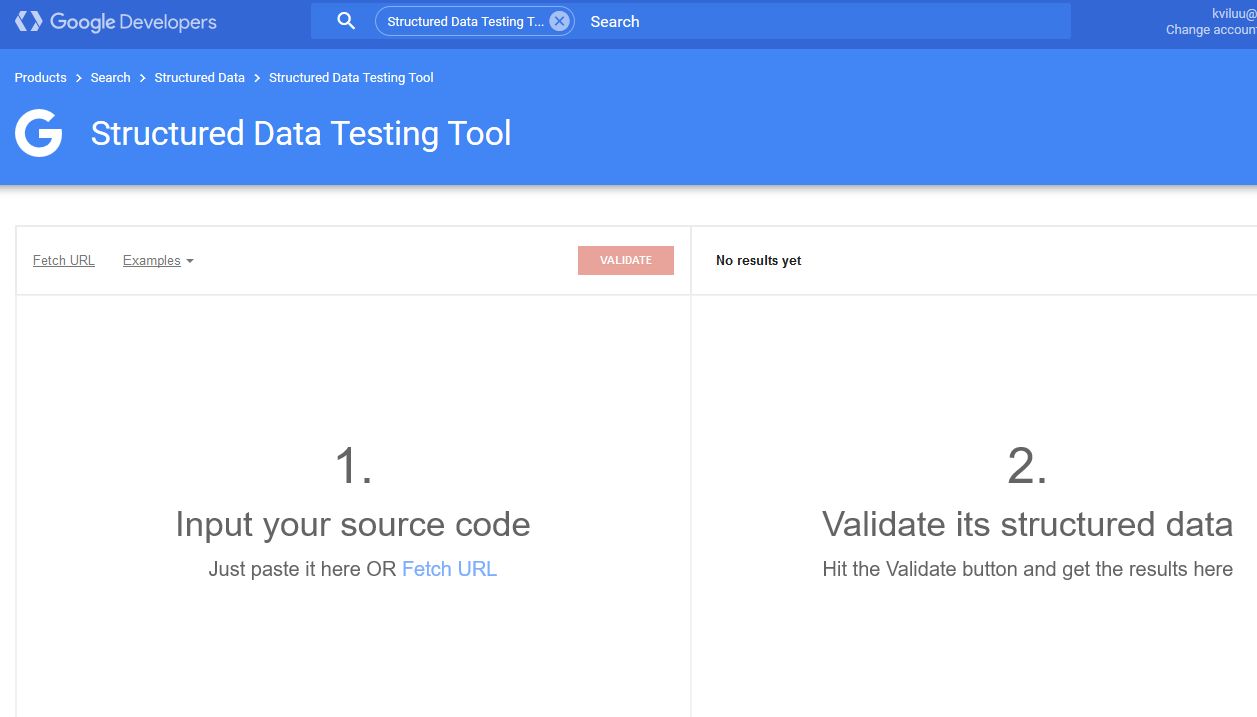
Now you need to make sure your AMP pages have valid schema markup. Do this using Google’s Structured Data Testing Tool.
Now in your WordPress Dashboard under “Plugins” and then “Editor” choose “AMP” so you can edit your class-amp-post-template.php file. It should look like this before you change it:
if ( $site_icon_url ) {
$metadata[‘publisher’][‘logo’] = array(
‘@type’ => ‘ImageObject’,
‘url’ => $site_icon_url,
‘height’ => self::SITE_ICON_SIZE,
‘width’ => self::SITE_ICON_SIZE,
);
}
You want to edit it so it looks like this instead:
$metadata[‘publisher’][‘logo’] = array(
‘@type’ => ‘ImageObject’,
‘url’ => ‘https://domain.com/wp-content/uploads/logo-60.png’,
‘height’ => 70,
‘width’ => 120,
);
Remember, the important changes here are to replace the URL with the route to your own publisher logo, and to provide specific width and height in pixels. You can find more information for Schema markup here, but keep in mind that your height should be at least 60 pixels and your width cannot exceed 600 pixels.
Enable Google Analytics
Obviously, you can’t do much without your analytics. The WP AMP plugin is simple to use but doesn’t enable your GA automatically, so don’t skip this step.
Use your WP dashboard to edit again; this time you’ll be making changes to your amp-post-template-actions.php file. Change the “UA-XXXXX-Y” so that it includes the GA property ID for your site. Now check to see that your tracking is enabled by re-validating your AMP pages as described above.
If you don’t want to use GA, at least use AMP analytics. Enable this in one of two ways. Use the amp-pixel element which tracks page views like a standard tracking pixel, or use the amp-analytics extended element which offers more individualized configuration. You’ll also need to add the right JS pieces and markup to use AMP analytics, so see their examples here.
Conclusion
Don’t pass up your opportunity to implement AMP pages and improve your speed for your mobile users significantly. Watch the AMP office hours on from the Google News Lab on YouTube here for additional tips and insight. How is your move to AMP pages working? Let me know in the comments.


